
Knowledge and advice
Designing a touchscreen kiosk: step-by-step guide
From objective to hardware: design a touchscreen kiosk that visitors really use. Practical steps, UX rules and concrete prices for trade fairs and public spaces.
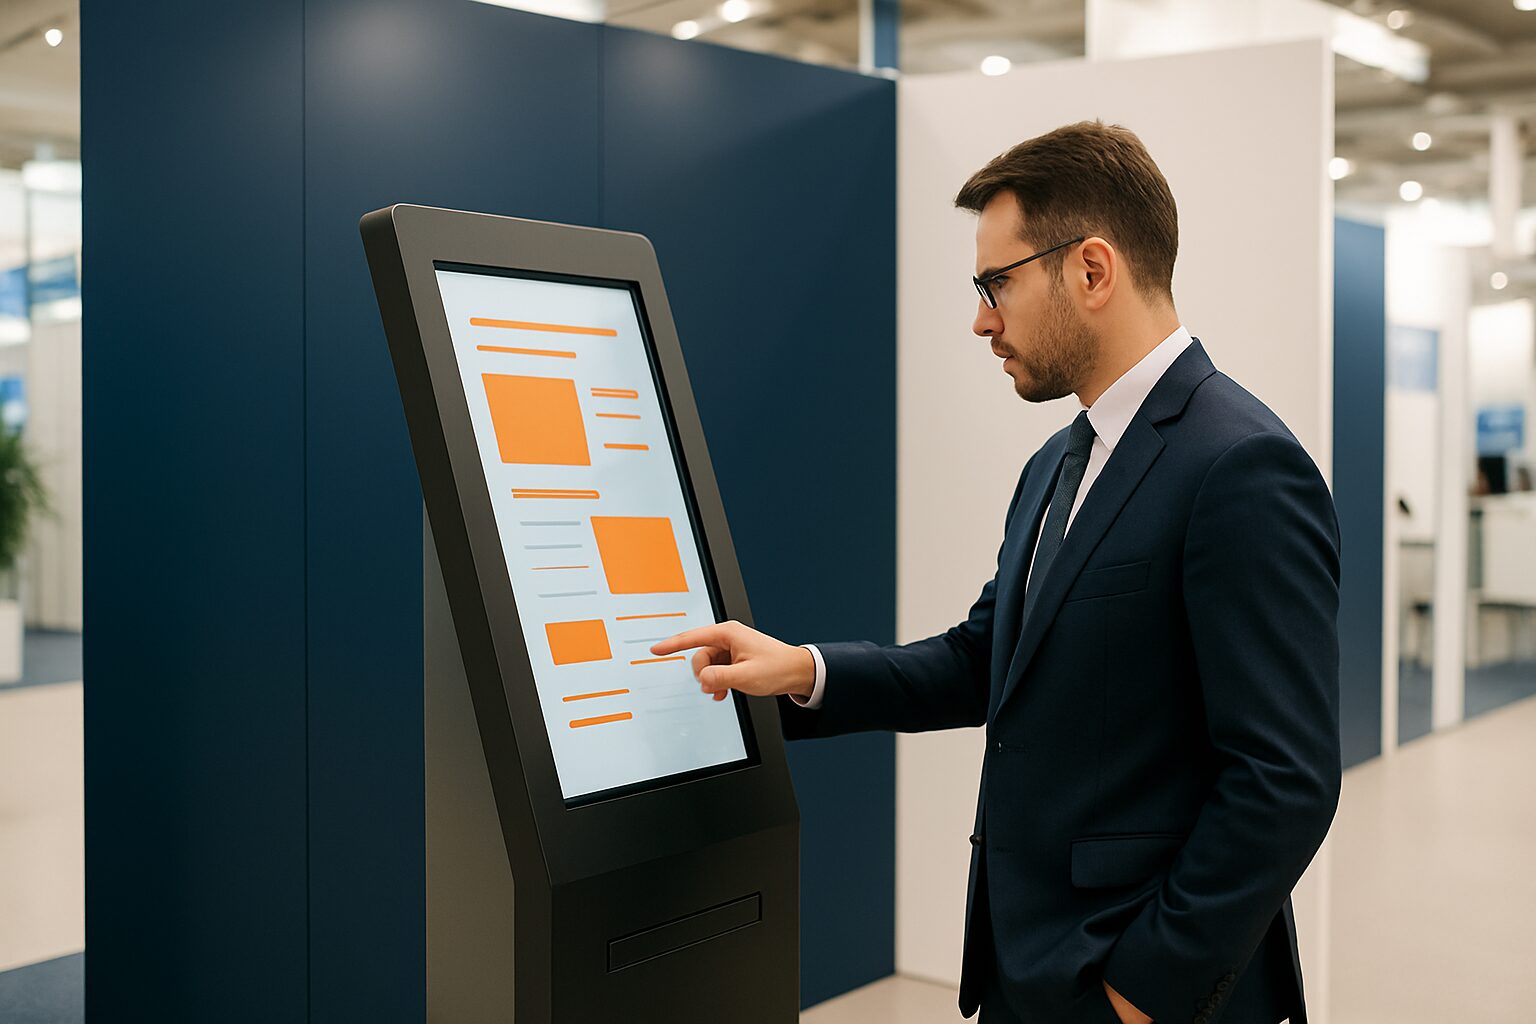
A touchscreen kiosk is a freestanding, self-service display that allows visitors to request information, navigate or carry out an action without staff assistance. The design determines whether the kiosk is actually used. Skip the UX phase and you have an expensive advertising board. Follow the five steps below and you will build a kiosk that attracts visitors, holds their attention and generates data.
Step 1 — Define one primary task
Start with a sharp task description: what should a visitor be able to reach in no more than three taps? A kiosk that serves as a product catalogue, lead form and route planner at the same time does none of those things well. Choose one main goal and make everything subordinate to that task.
For a trade fair stand that is usually: show product information and capture a contact detail. Those are two steps, not twelve. Keep the flow linear and predictable — research by kiosk UX specialists confirms that linear workflows with progress indicators significantly increase the percentage of completed sessions.
Step 2 — Design the user flow on paper
Map out the full flow on paper or a whiteboard before you design a pixel. Each screen step gets one question: what is the user doing here? Remove every step you cannot answer with a concrete action.
Then use a simple table to validate choices:
| Screen step | User action | Maximum number of options |
|---|---|---|
| Welcome screen | Tap to start | 1 |
| Category menu | Choose product group | 4–6 |
| Detail page | View / save / share | 2–3 |
| Conclusion | Enter email or skip | 2 |
One primary task per screen, no competing calls to action. That is the most underestimated design decision.
Step 3 — UI design: touch-first, contrast-first
A kiosk interface is not a website shrunk down to a totem. Visitors stand at a distance, use one finger and are often in a hurry — especially at a trade fair where there is a queue behind them.
Three hard rules:
- Minimum touch areas: UX guidelines prescribe a minimum button size of 44×44 pixels (approx. 20 mm on screen), with at least 5 mm spacing. On a 21″ kiosk at 1080p, that works out at approximately 82 pixels per button.
- High contrast: use dark text on a light background or vice versa, with at least a 4,5:1 contrast ratio (WCAG AA). See also the WCAG accessibility guidelines for public touchscreens.
- Immediate feedback: each tap gives visual confirmation within 100 ms. Without feedback, a user taps again — and becomes frustrated if something then happens twice.
Use sans-serif typefaces of at least 24 pt for readable body text on a 43″ screen at a distance of 80 cm. Avoid scrollable lists; use pagination with large buttons.
Step 4 — Choose the right hardware for the context
Hardware and design are inextricably linked. A screen that is too small, too dark or at the wrong height makes a perfect UI useless.
Screen size: for a standing kiosk at a trade fair, 43″ is the most commonly used size — large enough to stand out from a distance, compact enough for a 2×2 m stand. The PixioKiosk 43″ costs current price on request (price list Q2 2026) and has an integrated Android 13 computer — no separate media player or laptop required.
Brightness: indoors, 400 cd/m² is sufficient. If the kiosk is in a hall with daylight or in a shop window, allow for at least 1.000–3.000 nits. The PixioDisplay Luxe (49″, 67×185 cm) delivers 400 cd/m² for current price on request buy or current price on request per month lease — suitable for enclosed trade fair venues such as the Jaarbeurs or RAI.
Mobility: if you do not have a mains connection on the exhibition floor, a battery-powered display is the only option. The PixioDisplay A-board (43″) runs 14–18 hours on battery and costs current price on request (1.500 nits) or current price on request (2.000 nits) — both from price list Q2 2026.
Height: mount the touch surface between 90 and 120 cm from the floor for standing adults. If wheelchair users are part of your target audience, 75–85 cm is the norm.
Hiring for a single trade fair: the PixioKiosk 21,5″ is already available for hire from current price on request per day with a minimum hire period of two weeks, the 49″ variant costs current price on request for one day — see display hire for the current daily rates.
Step 5 — Test, measure and iterate
A kiosk is only complete after real user testing. Plan at least two test rounds: one internal (colleagues simulating the target audience) and one on site before opening day.
Measure during the trade fair:
- Session duration: an average under 90 seconds is a sign of good flow or of people dropping off.
- Drop-off points: on which screen do visitors leave the kiosk? That is the screen you overdesigned.
- Completion rate: how many sessions reach the final step?
Digital displays make it easy to collect user data and optimise your presentation based on behaviour. Read more about collecting data via interactive displays in the article Interactive displays for events: engagement and data collection.
Common mistakes at a glance
- Too much text per screen: visitors do not read, they scan. Maximum 15 words per screen block.
- No back button: every step has a clear back option. Dead-end flows cost you leads.
- Forgotten session timeout: set an automatic reset after 60–90 seconds of inactivity. That way, each visitor starts afresh.
- Screen mounted too low or too high: test the height with someone of 1,60 m and 1,90 m.
- Content not adapted to the hardware: a PDF viewer does not work on a touch kiosk. Build native touch navigation.
A well-designed touchscreen kiosk combines a clear task definition, a linear user flow, touch-optimised UI and the right hardware for the environment. Start with the objective — everything that follows then falls into place logically. Want to know which design rules also apply to permanent public installations? Then read the 10 design rules for public touchscreens that really work.
Frequently asked questions
How large should a touchscreen kiosk be for a trade fair stand?
For most trade fair stands, 43″ is the most practical size: visible from a distance, yet compact enough for a small stand area. If you also want to show product details to several visitors at once, 49″ is a logical next step. Smaller sizes (21,5″) work well as a secondary information point or for simple lead registration.
What is the minimum button size for a touchscreen kiosk?
UX guidelines prescribe a minimum touch target of 44×44 pixels, which works out at around 20 mm on screen, with at least 5 mm spacing between buttons. On a 21″ kiosk at 1080p, that is around 82 pixels per button. Smaller buttons lead to tapping errors and frustration.
Can I hire a touchscreen kiosk for one trade fair day?
Yes. The PixioKiosk is available for hire per day: the 21,5" version costs €95 per day with a three-day hire, the 49" version €225 for one day (price list Q2 2026). Hiring is sensible if you use the kiosk for one or two editions and do not have storage space.
What software do I need for a touchscreen kiosk?
The PixioKiosk has an integrated Android 13 computer. You load content via USB, a website URL or the PixioApp — a separate media player or laptop is not needed. For more complex interactive applications (forms, product configurators) you need additional kiosk software that locks the browser and automatically resets sessions.
How do I set an automatic reset on a touchscreen kiosk?
Set a session time-out of 60–90 seconds of inactivity. Most kiosk software offers this setting as standard. After the time-out, the screen returns to the welcome screen, so the next visitor always starts a clean session. If you forget this, the next visitor will see the personal details of the previous one.