
Knowledge and advice
Implementing a digital menu board: step-by-step guide
From choosing hardware to allergen rules: this is how you implement a digital menu board in hospitality. Concrete steps for installers and hospitality managers.
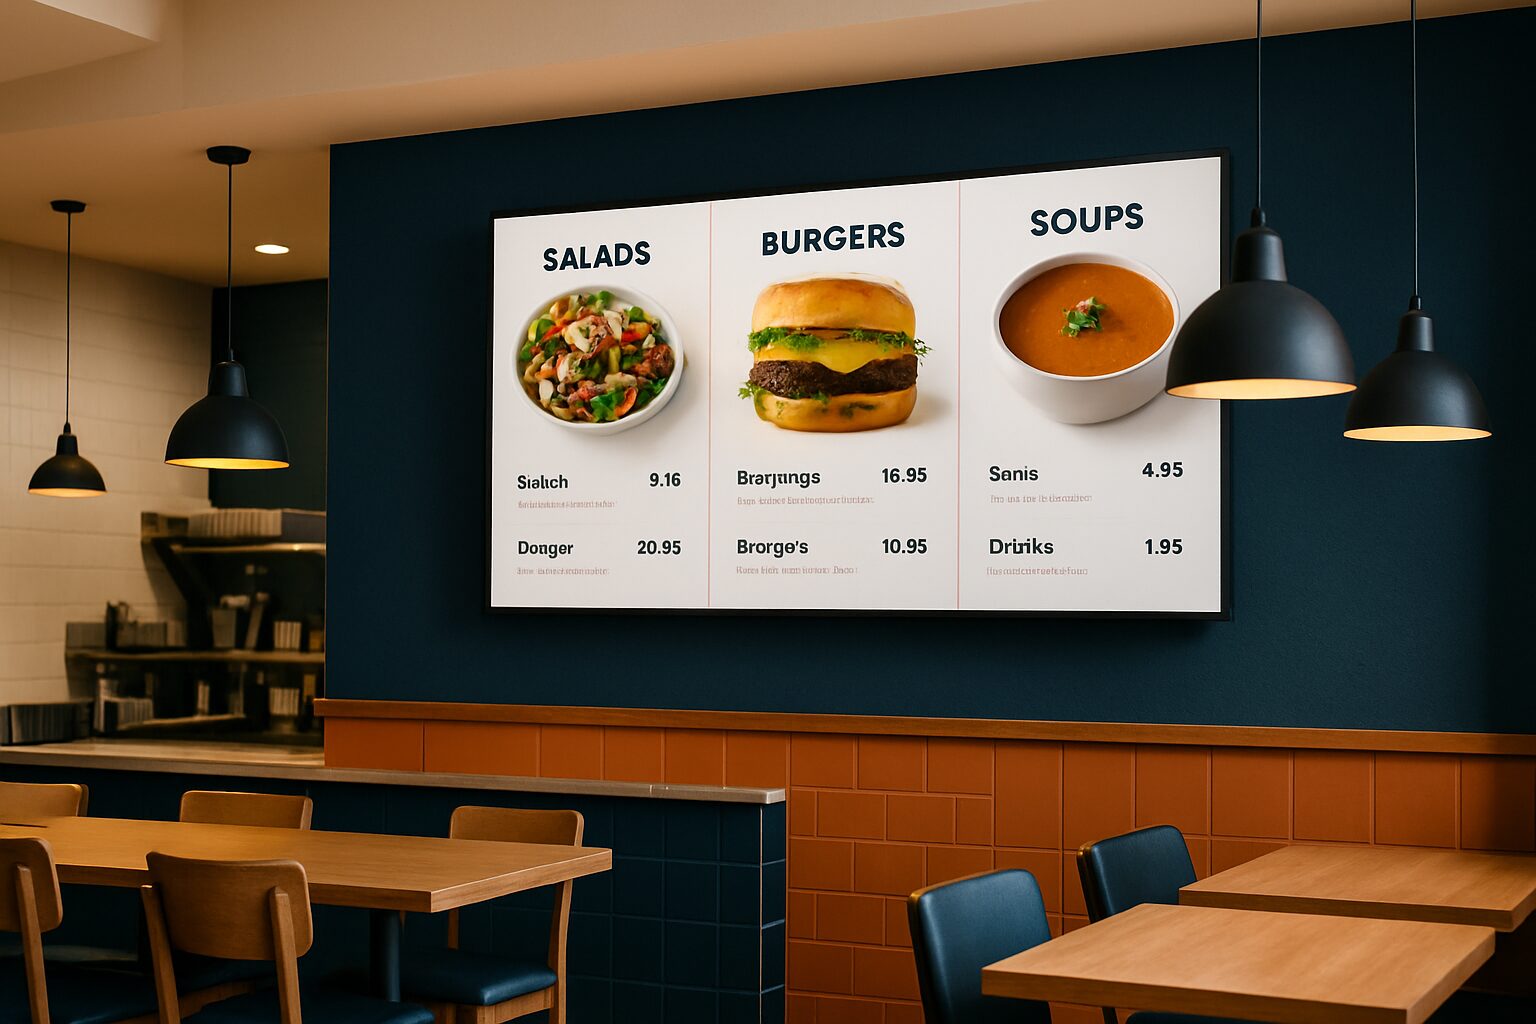
Implementing a digital menu board: step-by-step guide
A digital menu board is a screen-based system that allows a hospitality venue to display dishes, prices and allergen information dynamically — without print. The implementation consists of four parts: hardware (display), software (content management), network and legal compliance. Anyone who plans these four elements properly in advance will have a working system within one working day.
Step 1: Location analysis — what determines your hardware choice?
Start with an on-site measurement. Note the distance between screen and guest, the available light and whether there is a wall connection or free floor space. Those three factors determine which display is suitable.
Indoors, a brightness of ±400 cd/m² is sufficient. A shop window in full sun requires 3.000 nits; a freestanding outdoor display needs 3.500 cd/m². The panel — not the size — determines the additional cost.
Also check the power infrastructure. Does the location have a mains socket in the desired place? If not, then a battery-powered screen such as the PixioDisplay A-board a practical choice: it runs for 14 to 18 hours on one charge, without a power socket.
Finally, note the mounting option: wall, floor stand or freestanding. This partly determines which model and accessories you order.
Step 2: Choose hardware — which display suits the situation?
Here is an overview of the most commonly used options in hospitality:
| Situation | Recommended display | Size | Price (purchase, Q2 2026) |
|---|---|---|---|
| Interior wall (bar/kitchen) | Commercial display with Android | 43–55″ | Depending on model |
| Standalone pillar in shop | PixioDisplay Luxe | 49″ | current price on request |
| Shop window / window | PixioDisplay Window Full Sun | 43–55″ | current price on request |
| Terrace / outdoor | PixioDisplay Outdoor | 49–55″ | current price on request |
| Temporary event or pop-up | Display rental | 43–49″ | Daily prices on request |
All PixioDisplays have an integrated Android computer (Android 13/14). You do not need a separate media player or laptop — elsewhere such a media player costs current price on request per screen extra.
For a standalone menu setup in a restaurant or café, the PixioDisplay Luxe (49″ touchscreen, 67×185 cm) a direct choice: buy for current price on request or lease for current price on request per month (price list Q2 2026). The touchscreen enables interactive menu navigation without additional hardware.
Unsure about size or model? View the options live in the showroom in Montfoort.
Step 3: Prepare content — what needs to appear on the screen?
Content is the part that causes the most delay. Start here early, in parallel with the hardware order.
What you need at minimum:
- Menu structure: categories, dishes, prices
- Allergen information per dish (see below)
- Logo and brand colours (RGB or HEX)
- Photos of dishes (minimum 1920×1080 px for sharp display on large screens)
Allergens: legal requirement
According to EU Regulation 1169/2011 Every horeca business is legally required to inform guests about 14 statutory allergens. The NVWA actively checks this. NVWA research at more than 6.500 addresses showed that in 30,7% of inspections no allergen information was available in any form.
The law explicitly allows electronic provision: you may show allergen information directly on a TV screen or digital display. This counts as valid compliance. Just make sure the information is freely accessible, understandable and clearly legible — at every location where you offer food.
Practical advice: create an allergen matrix (dishes × 14 allergens) in a spreadsheet. Then process that matrix in your content management system or load it as a page on the screen. That way you keep one management point and minimise errors when menus change.
Loading content onto the screen
PixioDisplays support three methods: USB stick, website URL or the PixioApp. For a menu that you update regularly, a website URL or the PixioApp is the most practical. You update the content on your laptop; the screen loads the update automatically.
Step 4: Installation — from box to working screen
Schedule the installation at a quiet time, outside opening hours. Allow 1 to 2 hours for a standard setup.
Installation checklist:
- Unpacking and inspection — check for transport damage before mounting.
- Mounting — secure the wall bracket or adjust the floor stand. Check the height: the bottom of the screen at the eye level of a standing guest is ±150 cm.
- Connecting power — use only the supplied mains cable. Do not use an extension lead without earthing.
- First start-up — Android charges automatically. Set language, time zone and Wi-Fi.
- Load content — enter the URL or connect the PixioApp. Test all pages for readability.
- Set brightness — adjust the brightness to the lighting conditions. During the day in a bright room: 60–80%. In the evening: 30–50%.
- Final inspection — walk through the menu as a guest. Are all dishes visible? Are allergens displayed correctly?
For wall mounting on a non-load-bearing wall: always check the load-bearing capacity. A 49″ commercial display typically weighs 15–20 kg. Use wall plugs suitable for the wall material.
Step 5: Launch and management after installation
The launch is more than just switching the screen on. Prepare the staff: they will receive questions from guests about the new system.
Three things to arrange on day one:
- Brief staff — explain how content is updated and who does it. One administrator per location prevents inconsistency.
- Trial period — run the system alongside the paper menu for one week. That way you catch errors without burdening guests.
- Document the update process — agree how menu changes will be made. Price change? New seasonal dish? Who approves, who enters it?
After launch, monitor two things: does the screen run continuously without failure, and does the content match the current offering? Commercial displays are designed for continuous use; a regular consumer TV (±300 nits) is not and fails more quickly with 24/7 use.
Example: Dunkin' Donuts
Pixio Display supplied digital window posters to Dunkin' Donuts via the PixioDisplay Window. The implementation focused on high readability through the window — a typical challenge in window communication where brightness and viewing angle are decisive. More details can be found in the reference page.
When do you choose to rent instead of buy?
Not every implementation is permanent. For a pop-up restaurant, seasonal expansion or temporary terrace, hiring is financially more attractive than buying.
The PixioDisplay Luxe (49") is available to rent from current price on request per day for three consecutive days (price list Q2 2026). That is suitable if you want to test the system first before making a purchase decision. See all day rates on the rental options page.
A full implementation — from location analysis to a working screen — is completed in five steps. Most of the delay is not in the hardware, but in content preparation: allergen matrix, photos and house style. Start there early. More background on using displays in hospitality can be found in the article Digital menus and signage in hospitality: from menu board to terrace display.
Frequently asked questions
How long does it take to install a digital menu board?
A standard installation — unpacking, mounting, connecting and loading content — takes 1 to 2 hours. Add content preparation to that: creating a complete allergen matrix and dishes list takes on average an extra half day, depending on the size of the menu.
Do I have to show allergen information on the screen?
You are obliged to provide allergen information for the 14 legally defined allergens (EU Regulation 1169/2011). Showing this electronically on a display counts as valid compliance, provided the information is freely accessible, understandable and clearly legible. The NVWA actively checks this during routine inspections.
Do I need a separate media player next to the screen?
Not with PixioDisplays. They have an integrated Android computer (Android 13/14) on board. A separate media player costs elsewhere €80 to €300 per screen — that is an immediate saving.
What is the difference between a touchscreen totem and an ordinary menu board?
A touchscreen column (such as the PixioDisplay Luxe or PixioKiosk) lets guests navigate the menu themselves, filter by allergens or place an order. A standard menu board shows content passively. Touchscreen is suitable for self-service or information kiosks; a passive screen is sufficient for a classic menu board behind the bar.
Can I also rent the screen temporarily to test it first?
Yes. The PixioDisplay Luxe (49") can be rented from €160 per day for three consecutive days (price list Q2 2026). That is a practical way to test the system in the shop before making a purchase decision.