
Knowledge and advice
Touchscreen display installation: technical requirements and infrastructure
Everything about the technical installation of touchscreen displays: power, network, mounting, IP rating and cabling. Including concrete specs and best practices.
Touchscreen display installation: technical requirements and infrastructure
Correctly installing a touchscreen display requires more preparation than a standard signage screen. In addition to power and network, the mounting method, IP protection rating, cable management and the location environment play a crucial role. Anyone who maps these requirements out in advance avoids extra work on site and reduces the risk of faults after completion.
1. Power supply: get the basics right
Most commercial touchscreen displays operate on 230 V AC and consume between 80 and 250 W, depending on screen size and brightness. That is relatively little, but the connection must still comply with NEN 1010 meet — the Dutch standard for low-voltage installations in buildings and business premises.
Always plan a dedicated circuit for the display. If you share the circuit with other devices, there is a risk that a power fault elsewhere also switches off the screen. Use an earthed socket with residual-current protection (30 mA). Ensure sufficient cable length: preferably run the power cable in a cable duct or concealed through the wall, so the installation is neat and safe.
For displays that run continuously — think of an information kiosk in a public area — a UPS (uninterruptible power supply) a sensible addition. A UPS protects the display's internal computer against power surges and ensures a controlled shutdown during a power cut.
2. Network and connectivity
A touchscreen display almost always needs a network connection: for content updates, remote management or retrieving data. You can choose between wired ethernet (the most stable option) and Wi-Fi.
Ethernet is preferred for fixed installations. A UTP cable (Cat5e or higher) provides a stable connection without interference. Run the cable during the build phase — hiding it afterwards costs considerably more time. Use a network connection that is connected directly to the business switch or router, not via a consumer hub.
If you choose wifi, take signal strength at the exact location of the display into account. Walls, metal structures and other wireless devices can weaken the connection. Test the signal strength before mounting with a wifi analysis tool. Make sure the display is on its own SSID or VLAN if the customer’s network requires it — this is also relevant from the perspective of privacy legislation for public displays.
All PixioKiosk models have an integrated Android computer (Android 13/14), so you do not need a separate media player or laptop. That saves one extra device on the network and greatly simplifies management.
3. Fixing and mounting: VESA, weight and wall structure
Before mounting a touchscreen display, check three things: the VESA pattern, the weight of the screen and the load-bearing capacity of the wall or structure.
VESA pattern is the distance (in mm) between the four mounting holes on the back of the screen. Common sizes are 100×100, 200×200 and 400×400 mm. An incorrect VESA pattern leads to an unstable or unsafe installation — always check this in the product specifications before ordering a wall bracket.
A 43″ touchscreen typically weighs 15–20 kg; a 49″ model quickly 20–25 kg. Choose a wall mount with a load capacity well above the screen weight. Always attach the mount in load-bearing structural parts (concrete wall, steel profile or wooden studs). Plasterboard without reinforcement is unsuitable for displays weighing more than around 10 kg.
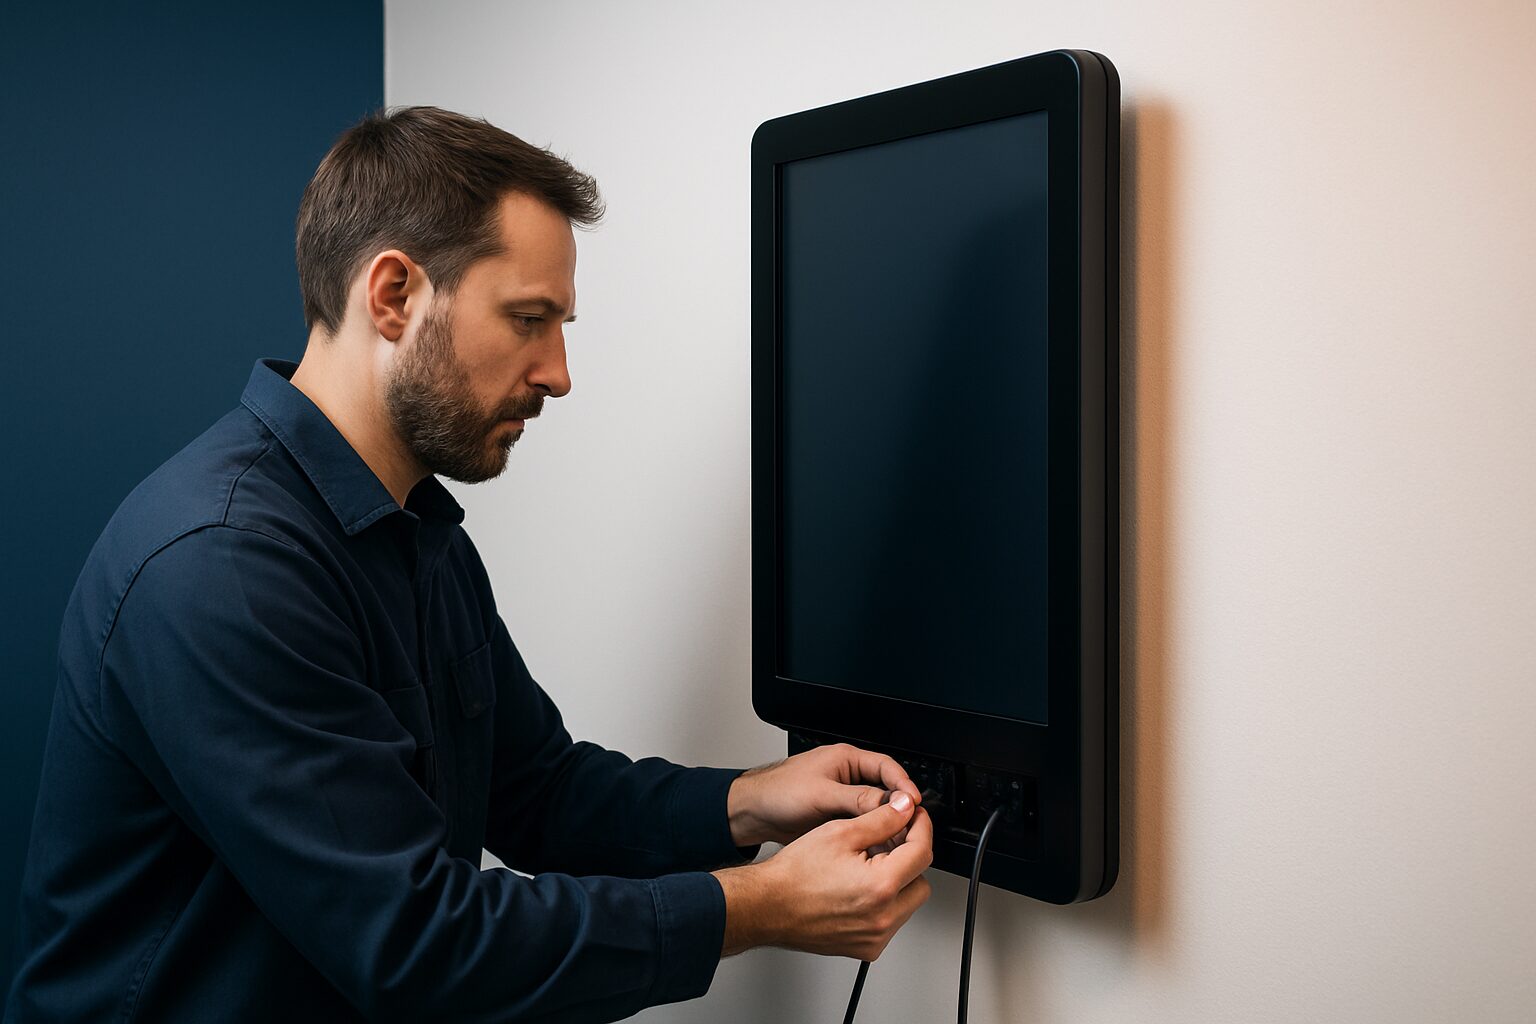
For a PixioDisplay Luxe (49″ touchscreen, 67×185 cm) — purchase price current price on request (price list Q2 2026) — requires a heavy-duty wall bracket with a load capacity of at least 30 kg. Connect all cables before permanently hanging the screen in the bracket; working behind a mounted screen afterwards is awkward and increases the risk of damage.
Freestanding models such as the PixioKiosk (information kiosk) has its own base and does not require wall mounting. Do check that the floor is sufficiently level and stable. Use an anti-tip bracket if needed, or anchor the base to the floor in busy public areas.
4. IP protection rating: indoors versus outdoors
The IP code (Ingress Protection) indicates how well a device is protected against dust and water. The standard is laid down in IEC 60529, published in Europe as EN 60529. The first number stands for dust protection (0–6), the second for water protection (0–9).
For indoor applications in dry spaces, IP20 or higher is usually sufficient. If you install a touchscreen in a humid environment — such as a hospitality kitchen, utility room or covered outdoor area — at least IP44 is required.
For outdoor installations applies:
| Location | Minimum IP class | Additional information |
|---|---|---|
| Covered entrance / canopy | IP54 | Protected against splash water |
| Freestanding outdoors, open location | IP65 | Completely dust-tight, protected against water jets |
| Intensive cleaning (pressure washer) | IP66 | Protected against powerful water jets |
| Risk of flooding or immersion | IP67 | Resistant to immersion up to 1 m, 30 min. |
Please note: some manufacturers state only the IP rating of the front panel, while the enclosure offers a lower level of protection. If in doubt, always request the full test report based on IEC 60529. A high IP rating says nothing about heat resistance — also check the stated operating temperature range in the datasheet.
5. Cable management and practical considerations
Neat cable routing is not just aesthetic — it prevents tripping hazards, cable damage and faults caused by strain on connections.
Cable management checklist for touchscreen installation:
- Make sure power and data cables have enough slack; cables must not be pulled tight when the screen is in its final position.
- Use cable ducts or recessed channels that suit the environment (plastic for indoors, stainless steel or UV-resistant for outdoors).
- Label all cables at both ends — this speeds up maintenance and troubleshooting.
- Keep power cables and data cables separate to minimise electromagnetic interference.
- Connect all cables before final installation of the screen.
For displays with a integrated Android computer — as with all PixioKiosk models — no separate HDMI or display cable to an external media player is needed. You upload content via USB, a website URL or the Pixio App. In practice, that means just a power cable and a network cable (or Wi-Fi). This considerably simplifies installation compared with setups using a separate media player (which elsewhere cost current price on request per item).
After installation, always check whether the touch function responds correctly. Test this with several fingers at once and at the edges of the screen — these are the areas where calibration problems appear first. Document the final configuration (IP address, network settings, content source) in a handover file for the customer.
Conclusion
A good touchscreen installation depends on preparation: check the power circuit, pull network cables during the build phase, choose the correct VESA bracket for the screen weight and select the IP class based on the location. Displays with an integrated computer — such as the PixioKiosk line — reduce the number of required connections and simplify management.
Want to know how to optimise the user experience of a touchscreen after installation? Then read the article Touchscreen displays for customer interaction: design and best practices.
Frequently asked questions
What power circuit do I need for a touchscreen display?
A dedicated circuit with earthed socket and 30 mA earth leakage protection, in accordance with NEN 1010. Do not share the circuit with other devices to prevent a fault elsewhere from switching off the display. For displays that run continuously, a UPS is recommended.
What is the difference between IP54 and IP65 for an outdoor installation?
IP54 protects against splashing water from all directions and is suitable for covered locations such as an awning or entrance. IP65 is fully dust-tight and resistant to direct water jets — this is the minimum for a freestanding outdoor display in an open location. If you want to clean it with a pressure washer, choose at least IP66.
How do I check the VESA pattern of a touchscreen display?
The VESA pattern is stated in the product specifications or the supplied manual. You can also measure it yourself: measure the horizontal and vertical distance (in mm) between the four mounting holes on the back of the screen. Make sure the wall bracket supports the same pattern and has a load capacity that comfortably exceeds the screen weight.
Does a PixioKiosk need a separate media player or laptop?
No. All PixioKiosk models have an integrated Android computer (Android 13/14). You only need a power cable and a network connection. Manage content via USB, a website URL or the PixioApp — no separate media player is needed.
Do I also need to take temperature into account for an outdoor installation, alongside the IP class?
Yes. The IP rating (IEC 60529) describes protection against dust and water only, not against heat or cold. Always also check the stated operating temperature range in the display's technical datasheet. An IP65 screen can still overheat at an ambient temperature of 45 °C if it has no active cooling.